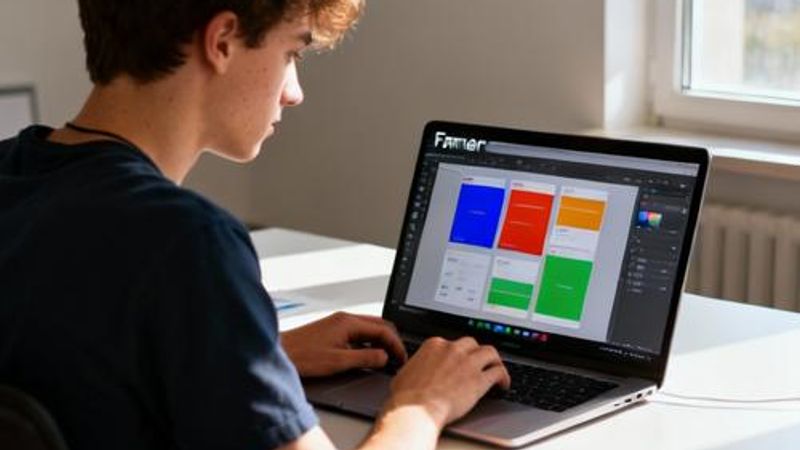
What is Framer Used For? A Complete Guide for Design Students and Beginners

As a design student, you've probably heard classmates and professors mention Framer, but what exactly is it used for? Whether you're struggling to bring your static designs to life or wondering how to create interactive prototypes that impress clients and professors, this guide will show you everything Framer can do for your design journey. By the end, you'll understand not just what Framer is, but how it can transform your design workflow and help you stand out in your studies and future career.

Why Understanding Framer Matters for Design Students
Design education has evolved beyond static mockups and wireframes. Today's design students face the challenge of creating interactive, responsive prototypes that demonstrate real user experiences. Traditional design tools often fall short when you need to show how a button animates, how a page transitions work, or how users navigate through complex interfaces. This gap between static design and interactive reality is where many students struggle, especially when presenting projects or preparing portfolios for internships. Framer bridges this gap by combining design capabilities with powerful interaction and animation tools, making it an essential skill for modern designers.
What Framer is Used For: Quick Overview
Framer is primarily used for creating interactive prototypes, designing websites, and building animations that feel real. Here are the core use cases:
- Interactive prototyping for mobile and web applications
- Website design and development with real functionality
- Creating complex animations and micro-interactions
- Portfolio websites and design presentations
- User testing with realistic, functional prototypes
Interactive Prototyping: Bringing Your Designs to Life
The most common use of Framer is creating interactive prototypes that feel like real apps or websites. Unlike static mockups in Figma or Sketch, Framer prototypes respond to user interactions with realistic animations and transitions. You can create clickable buttons that provide visual feedback, design smooth page transitions, implement scroll animations, and even add complex gestures like drag and drop. For design students, this means you can demonstrate how users will actually experience your design, not just how it looks. When presenting to professors or potential employers, interactive prototypes show your understanding of user experience principles and technical feasibility. The process involves designing your screens, connecting them with transitions, adding interactive elements, and fine-tuning animations until they feel natural and purposeful.
Website Design and Development in One Tool
Framer also functions as a complete website builder, allowing you to design and publish real websites without writing code. This dual functionality makes it particularly valuable for design students who want to create portfolio websites, landing pages for class projects, or functional prototypes that can be shared with real users. The websites you create in Framer are responsive, fast-loading, and can include advanced features like content management systems, contact forms, and e-commerce functionality. This capability bridges the gap between design and development, giving you practical skills that are highly valued in the industry. You can start with a design concept, build it visually in Framer, and have a live website within hours rather than weeks.

Advanced Animations and Micro-interactions
Framer excels at creating sophisticated animations and micro-interactions that enhance user experience. These small details—like a button that subtly changes color when hovered, a loading animation that keeps users engaged, or a smooth transition between screens—often distinguish professional-quality work from amateur projects. For design students, mastering these elements can significantly improve the quality of your portfolio and class presentations. Framer provides intuitive tools for creating timeline-based animations, spring physics for natural movement, and component-level interactions that can be reused across projects. You can animate properties like position, scale, rotation, and opacity, and combine multiple animations to create complex, layered effects that feel polished and intentional.
Real-World Examples and Templates for Students
Here are practical ways design students can use Framer for common academic and professional scenarios:
Portfolio Website: Create a personal portfolio that showcases your work with smooth animations and interactive case studies. Include project previews that expand on hover, animated section transitions, and contact forms that actually work.
Mobile App Prototype: Design a complete mobile app with realistic touch interactions, screen transitions, and gesture controls. Perfect for UX design classes or capstone projects.
Interactive Presentation: Transform static presentation slides into engaging, interactive experiences with clickable elements, embedded prototypes, and dynamic content.
User Testing Prototype: Create functional prototypes that users can interact with naturally, providing more accurate feedback than static mockups or basic clickable wireframes.

Common Mistakes Students Make with Framer
While Framer is powerful, students often make mistakes that limit their success. Over-animating is a common issue—adding too many animations or making them too elaborate can distract from the actual design and slow down the user experience. Another mistake is not planning interactions before building them, leading to inconsistent or confusing user flows. Students sometimes focus too much on visual effects and neglect basic usability principles. Additionally, many beginners try to recreate complex interactions without understanding the underlying principles, resulting in prototypes that look impressive but don't serve their intended purpose. To avoid these issues, start simple, focus on purposeful animations that enhance usability, and always test your prototypes with real users before presenting them.
Getting Started: Your Next Steps with Framer
Now that you understand what Framer is used for, the best way to learn is by doing. Start with Framer's free plan, which provides access to core features and is perfect for student projects. Begin with simple interactions like button hover states and page transitions before moving to complex animations. Take advantage of Framer's extensive template library and community resources to learn from experienced designers. Consider using Framer for your next class project or portfolio update—the interactive elements will immediately set your work apart from static presentations. Remember, the goal isn't to create the most complex prototype possible, but to use interactions and animations strategically to enhance your design's story and usability.