How to Get Started with Spline: A Complete Beginner's Guide to 3D Design

Learning 3D design feels overwhelming when you're starting out. Complex software interfaces, technical jargon, and steep learning curves can make you question if 3D design is even for you. But here's the thing: Spline changes everything. This browser-based 3D design tool was built specifically to make 3D accessible to beginners, and by the end of this guide, you'll have created your first 3D scene and understand exactly how to continue your journey from complete beginner to confident 3D designer.
Why Spline is Perfect for Design Students and Beginners
Traditional 3D software like Blender or Cinema 4D can take months to learn basic functions. As a design student or beginner, you need something that lets you create impressive results quickly while building fundamental 3D skills. Spline solves this problem by offering an intuitive interface that works directly in your browser – no downloads, no complex installations, and no expensive licenses. The biggest pain point for newcomers isn't lack of creativity; it's getting stuck on technical barriers before they can express their ideas.
What You'll Accomplish in Your First Hour
Here's exactly what you'll be able to do after following this guide:
- Create and manipulate basic 3D shapes using Spline's core tools
- Apply materials and colors to make your objects visually appealing
- Set up proper lighting and camera angles for professional-looking renders
- Export your first 3D scene for web or portfolio use
- Understand the workflow foundation for more complex projects
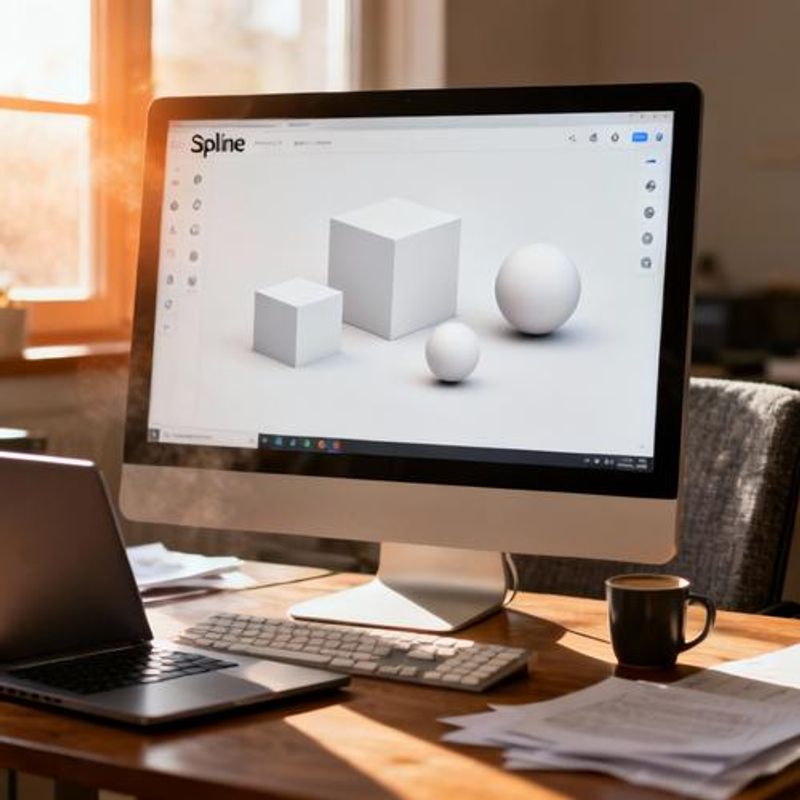
Step 1: Setting Up Your First Spline Project
Navigate to spline.design and create your free account. The free tier gives you everything needed to learn and create impressive projects. Once logged in, click 'New Project' and you'll see Spline's clean workspace with a default cube already placed in your scene. This isn't just any cube – it's your gateway to understanding 3D space. Click on it and notice how handles appear, allowing you to move, rotate, and scale. Practice moving it around using the transform tools in the top toolbar. The goal here isn't perfection; it's familiarity with how objects behave in 3D space.
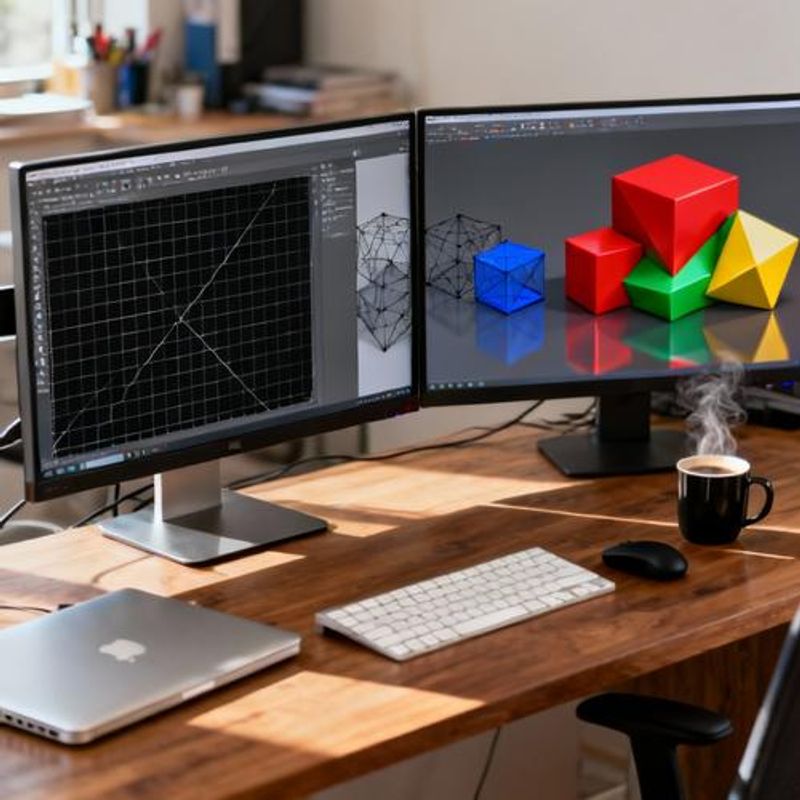
Step 2: Mastering the Essential Tools
Focus on these four core tools that you'll use in every project: the Select tool (V key) for choosing objects, Move tool (G key) for positioning, Rotate tool (R key) for orientation, and Scale tool (S key) for sizing. Add more objects by clicking the '+' button and selecting from primitive shapes like spheres, cylinders, and planes. Create a simple composition with 3-4 different shapes. Position them at different heights and angles. This exercise builds your spatial awareness – the foundation of all 3D design work.
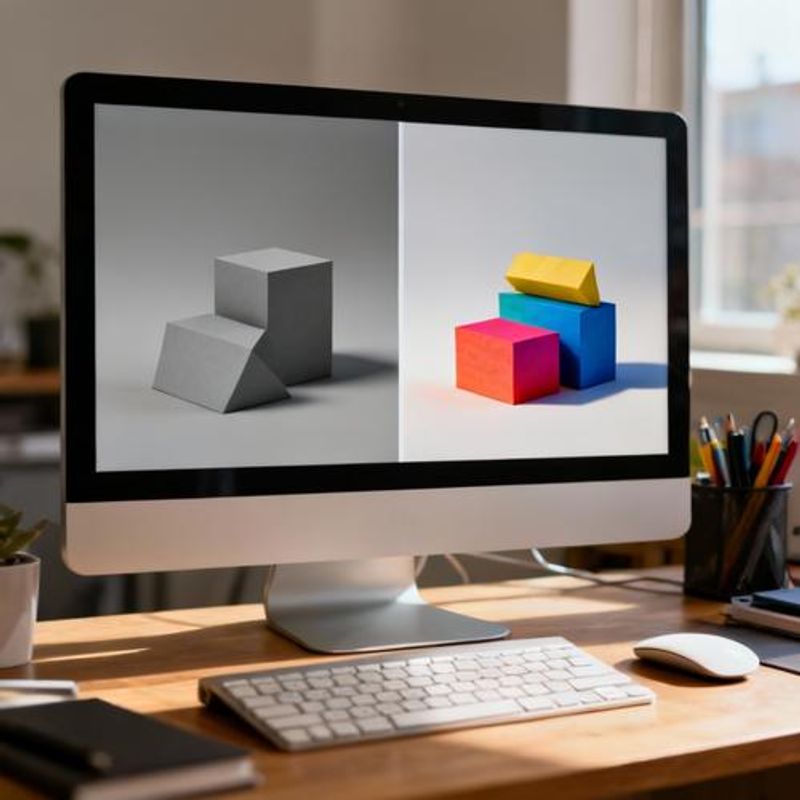
Step 3: Adding Visual Appeal with Materials
Select an object and look at the Properties panel on the right. Under 'Material,' you'll find options to change color, add textures, and adjust surface properties. Start with solid colors – choose a vibrant palette that excites you. Then experiment with the 'Metallic' and 'Roughness' sliders. Metallic surfaces reflect more light, while roughness controls how smooth or textured the surface appears. Try creating one matte object (high roughness), one glossy object (low roughness), and one metallic object. Notice how these properties completely change the character of your shapes.
Step 4: Lighting and Camera Setup
Good lighting transforms amateur-looking renders into professional results. Spline provides default lighting, but you can enhance it by adding light sources. Click the '+' button and add a 'Directional Light.' Position it to create interesting shadows across your objects. Adjust the intensity and color in the Properties panel. For camera work, use the orbit controls (right-click and drag) to find an compelling angle. The rule of thirds applies here – avoid centering everything. Look for angles where objects overlap interestingly and shadows create depth.
Your First Project Template: Geometric Study
Create this specific scene to practice everything you've learned: Place a large cube as your base, add a sphere positioned slightly off-center on top, insert a cylinder at an angle leaning against the composition, and finish with a plane underneath as a ground surface. Apply a gradient material to the cube (use the Environment settings), make the sphere reflective metal, give the cylinder a bright matte color, and keep the plane neutral gray. Add one directional light from the top-right angle. This combination teaches you composition, material variety, and lighting basics all in one project.
Common Beginner Mistakes to Avoid
Don't try to create complex scenes immediately – start with simple compositions and build complexity gradually. Avoid using too many different materials in one scene; limit yourself to 3-4 material types maximum. Never skip the lighting setup phase; even simple objects look professional with proper lighting. Don't ignore the camera angle; spend time finding views that show your work effectively. Most importantly, don't compare your first attempts to advanced work you see online. Every expert started exactly where you are now.
Your Next Steps in 3D Design
You've just completed your foundation in Spline and 3D design. Export your scene using the 'Export' button – try both image and web formats to see your options. Your immediate next action should be creating one new scene every day for a week, focusing on different themes: abstract compositions, simple product mockups, or geometric patterns. Join the Spline community on Discord to share your work and get feedback. Most importantly, bookmark Spline's tutorial library and work through their official lessons to expand beyond these basics. The creative possibilities are endless, and you now have the fundamental skills to explore them confidently.